
Windows 10 Screen Capturing Tips

Windows 10 provides an array of features and shortcuts to empower users in capturing screenshots and recording screen activity. Whether you are a content creator, troubleshooter, or simply want to preserve memorable moments, these ten indispensable tips will help you optimize your screen capturing endeavors on Windows 10.
Windows 10 Screen Capture: 10 Essential Tips for Success
Harness the Power of the Snipping Tool:
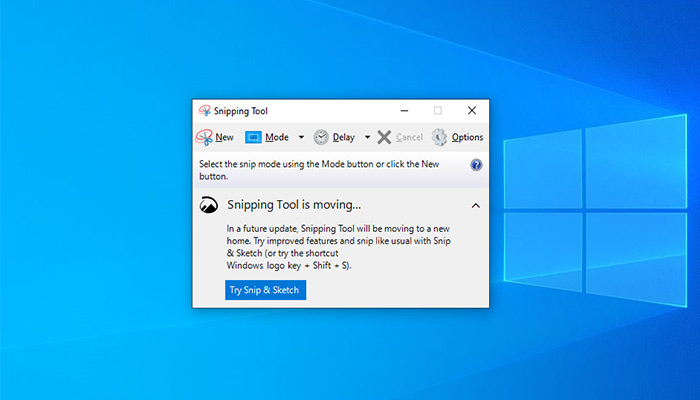
Windows 10 includes a built-in snipping tool that offers various capturing options. Activate it swiftly by pressing the Windows key + Shift + S, and selecting your desired area. With choices like rectangular, freeform, or full-screen snips, you can capture precisely what you need.
Master the Print Screen Key:

Effortlessly capture the entire screen by pressing the Print Screen (PrtScn) key. The screenshot will be instantly copied to your clipboard, ready to be pasted into an image editing software or directly into a document.
Capture Specific Windows:

To exclusively capture a specific window instead of the entire screen, employ the Alt + Print Screen shortcut. This captures the active window and saves it to the clipboard for seamless pasting.
Leverage the Windows Game Bar:
For gamers and screen recording enthusiasts, the Windows Game Bar is a valuable tool. Activate it by pressing the Windows key + G, enabling you to capture screenshots, record gameplay, and even broadcast your screen.
Take Advantage of Timed Screenshots:
Windows 10 allows you to set a timer for capturing screenshots. Open the snipping tool menu with the Windows key + Shift + S, and access the “Delay” option. Customize your preferred delay time, enabling you to arrange your screen before capture.
Use the Windows Key + Volume Down Shortcut:
If you’re using a Windows tablet or a 2-in-1 device, you can quickly capture a screenshot by simultaneously pressing the Windows key and the volume down button. This shortcut saves the screenshot directly to your Pictures folder.
Capture Screenshots with the Xbox App:
The Xbox app on Windows 10 not only facilitates game streaming but also offers screen capturing capabilities. Launch the Game Bar with the Windows key + G, and utilize the camera icon to capture screenshots.
Explore Third-Party Tools:
While Windows 10 provides robust built-in options, consider exploring third-party screen capturing tools for additional features and customization. Tools such as Greenshot, Snagit, and Lightshot offer advanced editing capabilities, annotation options, and even scrolling window capture.
Customize Your Screen Capture Folder:
Windows 10 saves screenshots in the default “Pictures” folder. However, you can customize the save location. Open the Settings app, navigate to “System,” then “Storage,” and click on “Change where new content is saved” under the “More storage settings” section.
Discover the Snip & Sketch App:
Replacing the traditional Snipping Tool, Windows 10 introduced the Snip & Sketch app, providing advanced options for capturing and editing screenshots. Launch the app effortlessly with the Windows key + Shift + S or by searching for it in the Start menu.
Conclusion:
With the wealth of screen capturing features and shortcuts in Windows 10, you can elevate your capturing experience to new heights. By incorporating these ten indispensable tips into your workflow, you will optimize your screen capturing endeavors and make the most of the built-in features and shortcuts offered by Windows 10. Explore these tools, experiment, and find the methods that best suit your unique requirements.
About the Author: Talha Ahmed


news via inbox
Sign up and never miss out on the latest news and updates at HighStuff